
Learn exactly how to paint a room like a professional in 2026. Step-by-step guide covering prep, tools, techniques, paint types, color tips, cost breakdown, where to buy, and how much paint you actually need for any room size.
There’s one home improvement project that delivers more visual impact per dollar than almost anything else you can do — and it doesn’t require a contractor, a permit, or a week off work. Painting a room is the single most popular DIY project in America, and for good reason. A fresh coat of paint can completely transform a space, increase your home’s appeal, and add real value — all in a single weekend.

But here’s the thing most American homeowners in cities like Chicago, Denver, and Phoenix discover the hard way: painting a room the right way is very different from just rolling paint on walls. Done correctly, a painted room looks crisp, professional, and lasts for years. Done wrong, you’re left with streaks, roller marks, patchy coverage, and paint-splattered trim that takes more time to fix than the job itself. See two tone wall paint ideas for walls.
This 2026 complete guide walks you through every single step — from choosing the right paint and calculating exactly how much you need, to prepping your walls, cutting in, rolling, and finishing like a professional. Whether you’re refreshing a bedroom in a New York apartment or repainting the living room of a Phoenix ranch home, this guide has everything you need.
Why Room Painting Is America’s #1 DIY Home Improvement Project
Before diving into the how-to, it helps to understand just how impactful a fresh coat of paint really is.
Fact: According to the National Association of Realtors (NAR), interior painting has one of the highest returns on investment of any home improvement project — with homeowners recouping an average of 107% of the project cost at resale. That means you actually make money by painting your home before selling.
Fact: The average American family repaints interior rooms every 5 to 7 years, according to the Paint Quality Institute. Color trends, lifestyle changes, and natural wear all drive this cycle — making interior painting one of the most recurring home improvement tasks in the country.
Fact: A professional interior painting job in the U.S. costs between $2 to $6 per square foot of wall space, including labor and materials. For a standard 12×12 foot bedroom, that’s roughly $800 to $2,000 for professional work. DIY costs drop that to $100 to $300 — a savings of $700 to $1,700 on a single room.
In cities like San Francisco, New York, and Seattle-Tacoma where labor costs are high, the savings from DIY painting are even more dramatic. That’s exactly why millions of American homeowners tackle this project themselves every single year. See luxury paint colors for your project.
Choosing the Right Paint: Types, Finishes, and What They Mean
Walk into any Home Depot or Lowe’s and you’ll face an overwhelming wall of paint options. Understanding the basics cuts through the confusion immediately.
Paint Types: Latex vs. Oil-Based
Latex paint (water-based) is the overwhelming choice for interior walls in American homes in 2026. It dries faster (1–2 hours), cleans up with soap and water, has lower VOC emissions, and maintains color and flexibility over time. For virtually every interior wall and ceiling project, latex paint is the right call.

Oil-based paint is slower drying (8–24 hours), requires mineral spirits for cleanup, and produces stronger fumes. Its main advantages are a harder, more durable finish and superior adhesion on certain surfaces. In 2026, oil-based paints are typically reserved for trim, doors, cabinets, and high-traffic surfaces — not walls.
Paint Finishes: The Right Sheen for Every Room
The sheen level of your paint affects both appearance and durability. Here’s exactly which finish to use where:
Flat / Matte — No shine. Hides wall imperfections beautifully. Best for: ceilings, low-traffic bedrooms, and formal living rooms. Not washable — avoid in kitchens and bathrooms.
Eggshell — Very slight sheen. The most popular finish for main living areas, dining rooms, and bedrooms across the U.S. Slightly more washable than flat. Hides minor imperfections well.
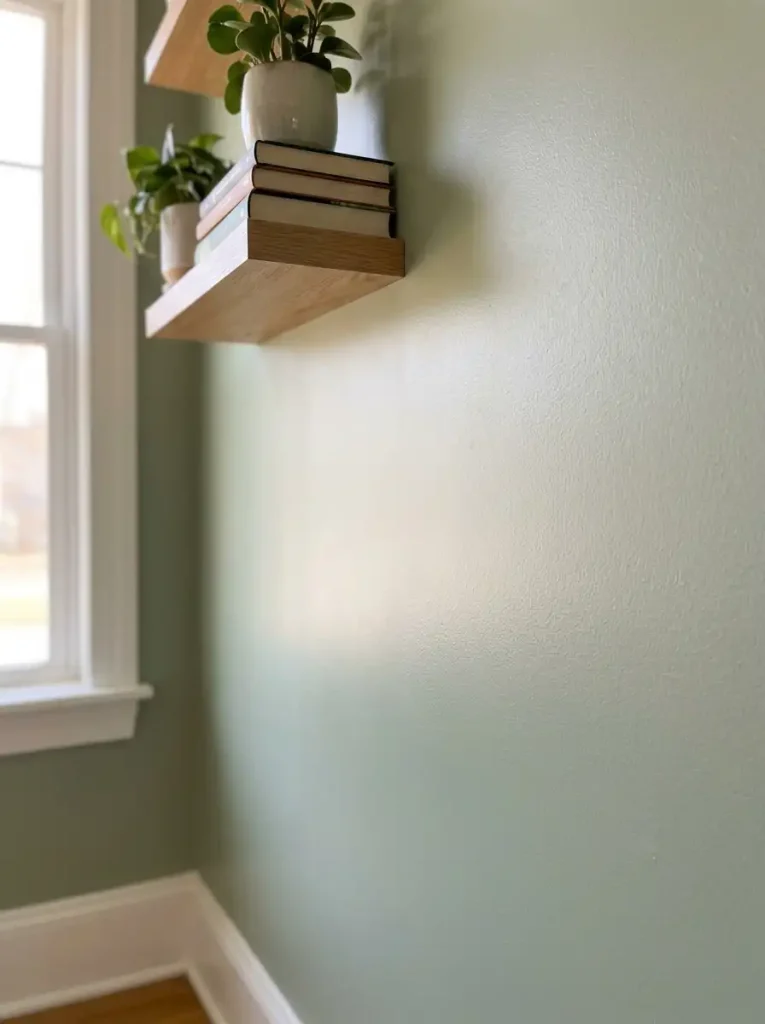
Satin — Soft, pearl-like sheen. The best choice for high-traffic areas — hallways, kids’ rooms, family rooms. More washable and durable than eggshell.
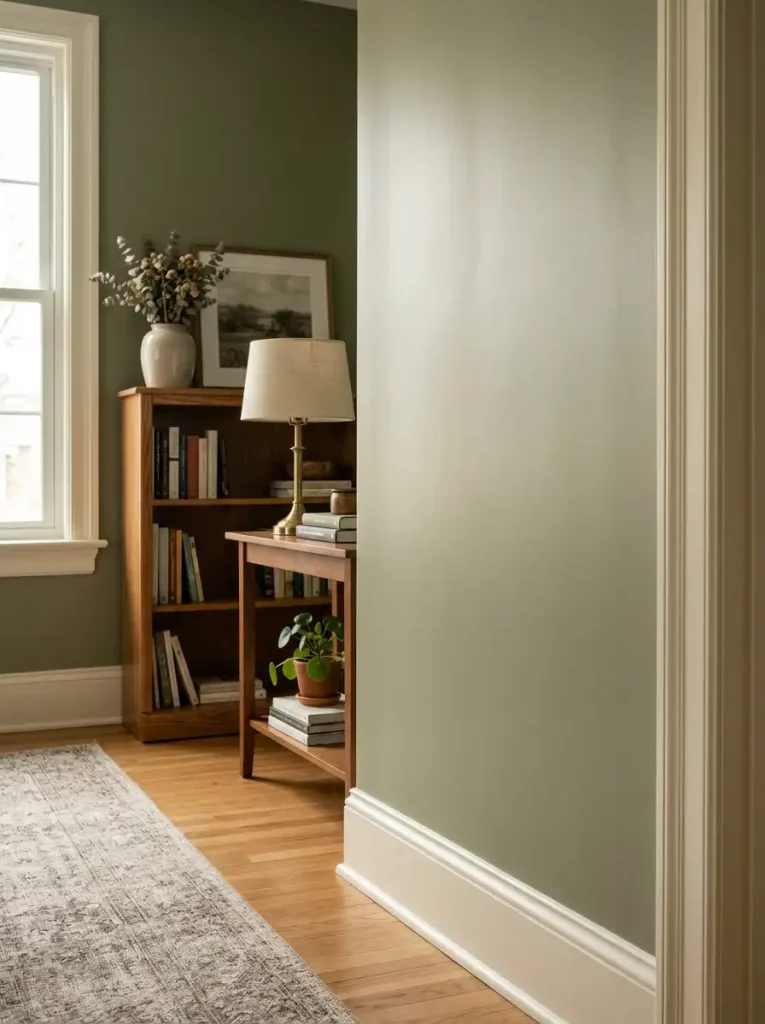
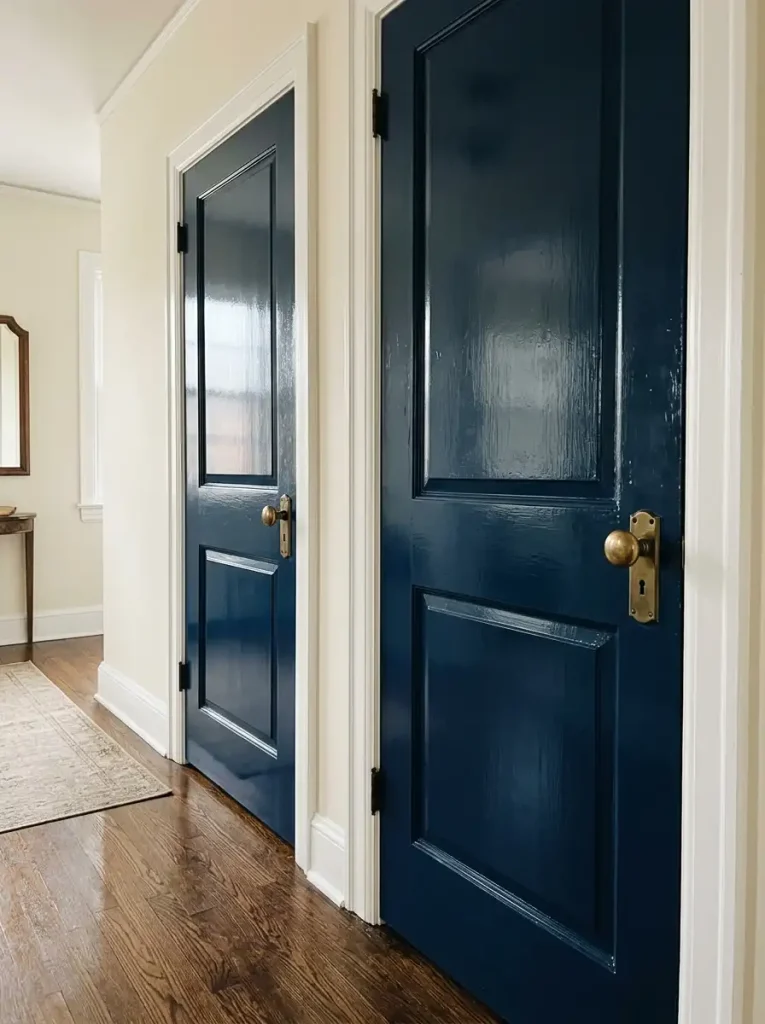
Semi-Gloss — Noticeable shine. The standard choice for trim, doors, window frames, and bathroom walls. Very washable and moisture-resistant.
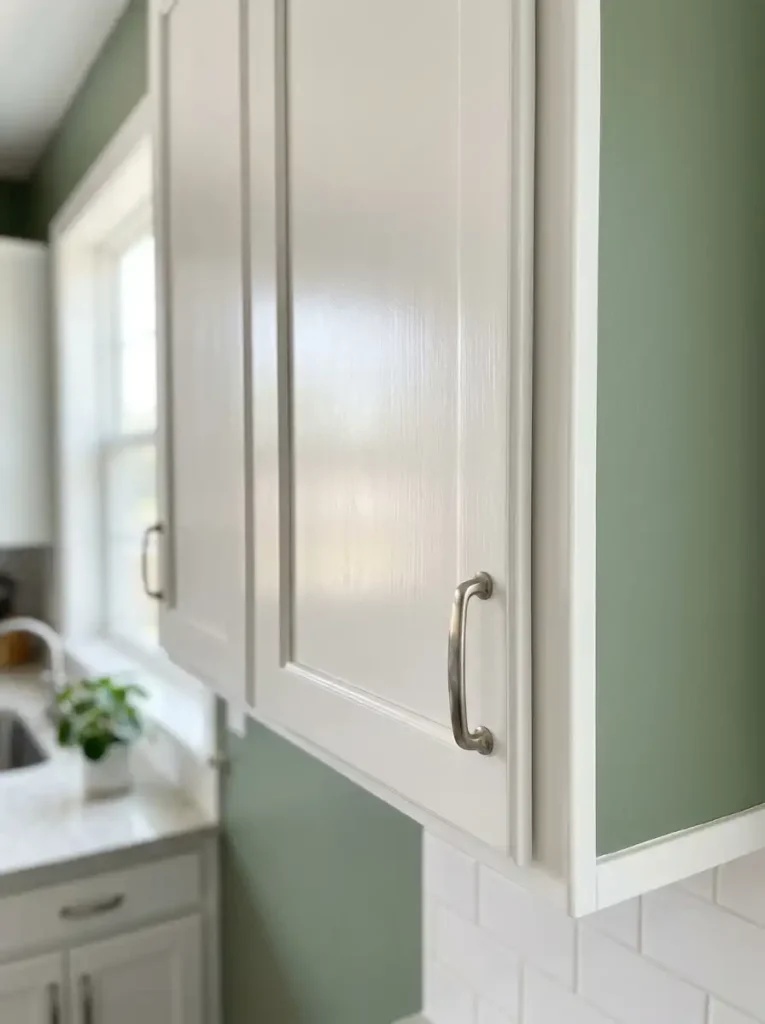
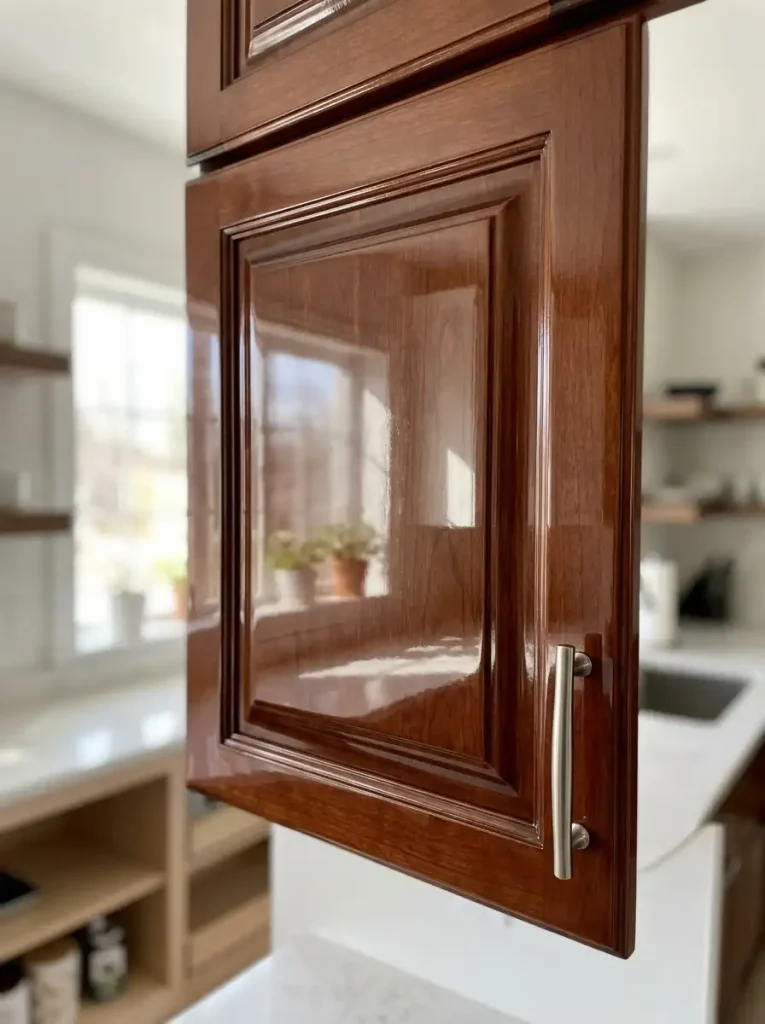
High-Gloss — Maximum shine. Used for cabinets, furniture, and accent pieces. Very durable and easy to clean, but highlights every surface imperfection.
How to Calculate How Much Paint You Need
This is where most DIY painters make their first mistake — and either run out of paint mid-project or buy way too much. The math is simpler than you think.
Paint Estimator Calculator
Calculate exactly how much paint you need for your project.
The Basic Paint Estimator Formula
Step 1 — Calculate your total wall area: Add up the width of all four walls and multiply by the ceiling height. Example: A 12×14 ft room with 8 ft ceilings = (12+14+12+14) × 8 = 416 square feet of wall space.
Step 2 — Subtract doors and windows: Each standard door = approximately 20 sq ft Each standard window = approximately 15 sq ft Example: 2 doors + 2 windows = (2×20) + (2×15) = 70 sq ft subtracted 416 – 70 = 346 sq ft of paintable wall space
Step 3 — Divide by coverage rate: One gallon of paint typically covers 350–400 square feet with one coat. For one coat: 346 ÷ 350 = ~1 gallon For two coats (always recommended): multiply by 2 = ~2 gallons
Step 4 — Add 10% buffer: Always buy 10% extra for touch-ups, mistakes, and future repairs. 2 gallons × 1.10 = 2.2 gallons → round up to 3 gallons
Pro Tip: If you’re going from a dark color to a light color (or vice versa), plan for three coats — not two. This is one of the most common undercalculations in DIY painting, especially when painting over deep navy, forest green, or red walls.
Paint Estimator Quick Reference Chart
| Room Size | Wall Area (approx.) | Paint Needed (2 coats) |
|---|---|---|
| Small bedroom (10×10 ft) | ~300 sq ft | 2 gallons |
| Standard bedroom (12×12 ft) | ~350 sq ft | 2–3 gallons |
| Large bedroom / living room (14×16 ft) | ~430 sq ft | 3 gallons |
| Open living/dining combo (20×16 ft) | ~580 sq ft | 4 gallons |
| Ceiling (any room) | = floor area | 1–2 gallons |
Ceiling Paint: Always buy ceiling paint separately. A 12×12 ft ceiling needs approximately 1 gallon for one coat, 2 gallons for two coats.
Tools and Supplies You Need Before You Start
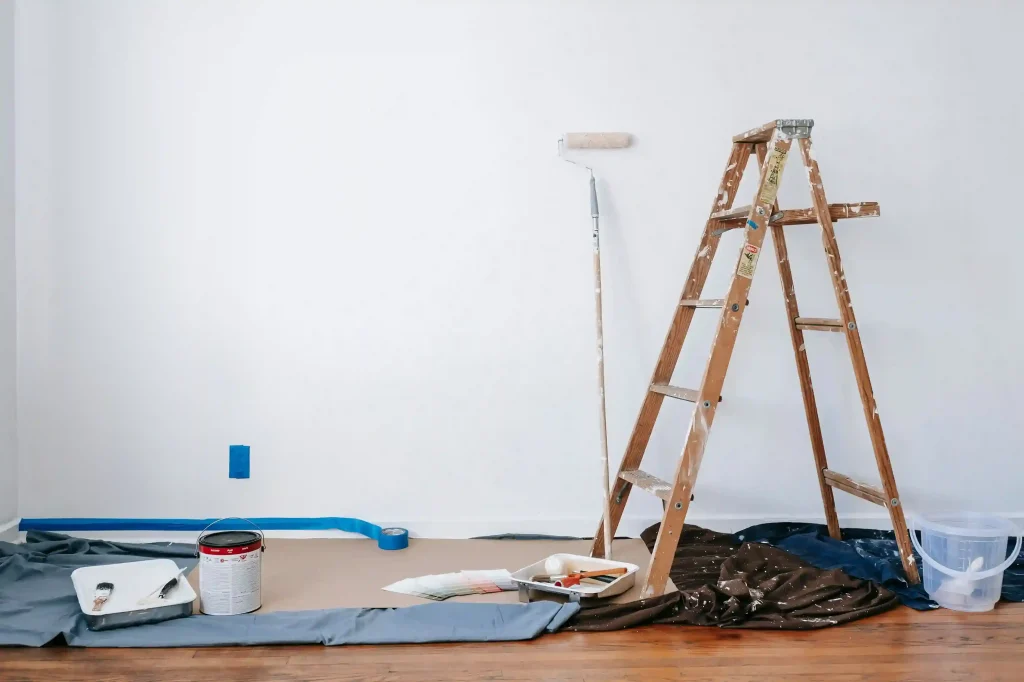
Having the right tools before you start makes the difference between a frustrating mess and a smooth, professional result. Here’s the complete shopping list:
Essential Tools:
- 2-inch angled brush — For cutting in edges, corners, and trim
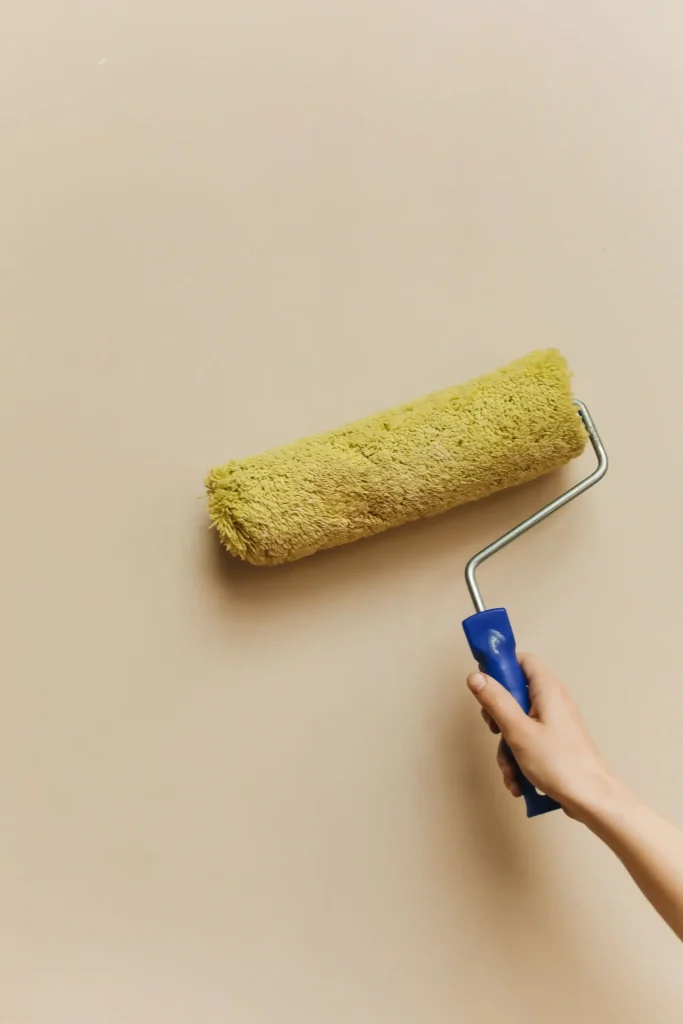
- 9-inch roller frame and handle — For painting large wall surfaces
- Roller covers (3/8-inch nap) — For smooth to slightly textured walls; 1/2-inch nap for heavier textures
- Paint tray and liner — For loading the roller evenly
- Painter’s tape (blue or green) — For masking trim, outlets, and edges
- Drop cloths — Canvas cloths for floors and furniture protection
- Stir sticks — Always stir paint thoroughly before use
- Roller extension pole — For ceilings and high walls without a ladder
- Putty knife and spackling compound — For filling nail holes and cracks before painting
- 120 and 220-grit sandpaper — For sanding repaired spots and smoothing walls
Optional but Highly Recommended:
- Paint edger tool — Speeds up cutting in along ceilings and trim
- Handheld paint cup — For carrying paint while cutting in
- Box fan — For ventilation during and after painting
Step-by-Step: How to Paint a Room the Right Way
Step 1 — Choose Your Color and Buy Your Paint
Color selection is the most personal part of the process, but a few rules help narrow the field. Light colors make rooms feel larger and brighter — ideal for smaller rooms in apartments across New York City and Chicago. Darker, richer tones create a cozy, intimate atmosphere — popular in living rooms and dining rooms across Denver and the Pacific Northwest.
Always buy a sample first. Paint a 12×12 inch test patch on your actual wall and observe it at different times of day — morning light, afternoon sun, and evening lamplight all reveal dramatically different versions of the same color. This single step saves more money and frustration than anything else in the painting process.
Step 2 — Prepare the Room Completely
Professional painters spend more time on preparation than on actual painting — and so should you. This step determines 80% of the final result.
- Remove all furniture from the room or push it to the center and cover with drop cloths
- Remove outlet covers, switch plates, and light fixture covers (tape over exposed outlets)
- Apply painter’s tape along all trim, baseboards, window frames, and ceiling edges
- Lay drop cloths across the entire floor — don’t skip corners and edges
- Fill all nail holes, dents, and cracks with spackling compound; let dry completely
- Sand all repaired spots smooth with 120-grit sandpaper, then 220-grit for a final pass
- Wipe all walls with a lightly damp cloth to remove dust, grease, and grime — especially in kitchens and bathrooms
Critical Tip: In older homes — particularly in cities like Chicago, Philadelphia, and Boston where many homes predate 1978 — test for lead paint before sanding. Lead paint test kits are available at Home Depot for under $15 and take just minutes.
Step 3 — Apply Primer (Don’t Skip This Step)
Primer is the step most DIY painters skip — and it shows. Primer does three critical things:
- Seals porous surfaces for even paint absorption
- Blocks stains from bleeding through the topcoat
- Improves paint adhesion, especially on previously painted or repaired surfaces
When you absolutely must prime:
- New drywall or freshly repaired areas
- Going from dark to light colors (or light to dark)
- Painting over glossy surfaces
- Covering stains, water damage, or smoke damage
- Painting in a bathroom or kitchen
Apply primer with a roller just like paint. One coat is usually sufficient. Let dry fully (typically 1–2 hours for latex primer) before painting.
Step 4 — Cut In the Edges First
Cutting in means painting the edges, corners, ceiling line, and areas around trim with a brush — before rolling the large wall surfaces. This is the most skill-dependent part of the process, and the step that most determines whether your finished room looks amateur or professional.
How to cut in properly:
- Load your 2-inch angled brush by dipping about 1 inch into the paint — not all the way
- Start at a ceiling corner; hold the brush like a pencil for control
- Paint a 2–3 inch band along the ceiling line, trim, and corners
- Use slow, steady strokes and maintain a “wet edge” — always connect fresh paint to paint that hasn’t dried yet
- Cut in one wall at a time and immediately follow with the roller while the cut-in edge is still wet
Pro Tip: The most common cutting-in mistake is letting the brushed edges dry before rolling the wall. When this happens, you can see the brush lines through the finished coat. Always roll immediately after cutting in each section.
Step 5 — Roll the Walls
Rolling is the fastest, most satisfying part of painting. Done right, it produces a smooth, even finish with no streaks or marks.
- Pour paint into the tray and load the roller by rolling it back and forth in the paint until it’s evenly saturated — not dripping
- Start in the upper corner of the wall and apply paint in a large “W” or “M” pattern, then fill in the gaps with horizontal strokes
- Maintain a wet edge by keeping each new section slightly overlapping the previous one
- Apply consistent, moderate pressure — too light leaves gaps; too heavy causes splatter
- Always finish with light, vertical top-to-bottom strokes to eliminate roller marks
For ceilings: Use an extension pole to reach without a ladder. Work in 3–4 foot sections across the ceiling. Paint perpendicular to the main light source (usually toward windows) for the most even appearance.
Step 6 — Apply the Second Coat
This step is non-negotiable. A single coat of paint almost never provides full, even coverage — especially with lighter colors over dark surfaces, or with budget paints that have lower pigment concentration.
Wait for the first coat to dry completely before applying the second. For most latex paints, that means at least 2–4 hours — but check the manufacturer’s recommendation on the can. In humid climates like the Gulf Coast or high-altitude dry climates like Denver, drying times can vary significantly.
Apply the second coat exactly the same way as the first — cut in, then roll. You’ll be amazed at how much better the second coat looks compared to the first.
Step 7 — Remove Tape and Clean Up
Remove painter’s tape while the second coat is still slightly damp — not fully dry. Pulling tape off dry paint can lift the paint edge with it, creating a ragged line that’s difficult to fix. Pull the tape back at a 45-degree angle, slowly and steadily.
Once tape is removed, inspect all edges. Touch up any bleeds or gaps with a small brush and let dry fully before replacing outlet covers and switch plates.
Common Room Painting Mistakes to Avoid in 2026
Even experienced DIYers make these errors. Knowing them in advance saves hours of rework:
Skipping the primer on repaired areas — Spackling compound is porous and absorbs paint unevenly, creating dull, flat spots called “flashing” that are visible in raking light. Always spot-prime every repaired area.
Using cheap roller covers — Budget roller covers leave lint and fibers embedded in the paint surface. Spend a few extra dollars on quality covers from brands like Purdy or Wooster — it makes a visible difference in the finish quality.
Painting over dirty or greasy walls — Paint does not adhere well to grease, cooking residue, or body oils. Kitchen and bathroom walls especially need a thorough cleaning with TSP (trisodium phosphate) cleaner before painting. Skipping this leads to peeling within months.
Not stirring paint properly — Pigment settles to the bottom of the can. Un-stirred paint produces uneven color and sheen throughout the project. Stir thoroughly for at least 2 full minutes before starting and again if the paint sits unused for more than 30 minutes.
Painting in extreme temperatures — Most latex paints should be applied between 50°F and 85°F. In Phoenix summers where temperatures regularly exceed 110°F, avoid painting exterior-facing rooms that absorb heat unless the HVAC is running. Cold garages and basements in Chicago winters are equally problematic.
Overloading the roller — Too much paint on the roller causes drips, splatter, and an uneven finish. Load the roller moderately, roll it on the incline of the paint tray to remove excess, and apply with consistent pressure.
Paint Color Trends Dominating American Homes in 2026
Color trends shift every year, and 2026 is bringing some beautiful directions for American interiors:
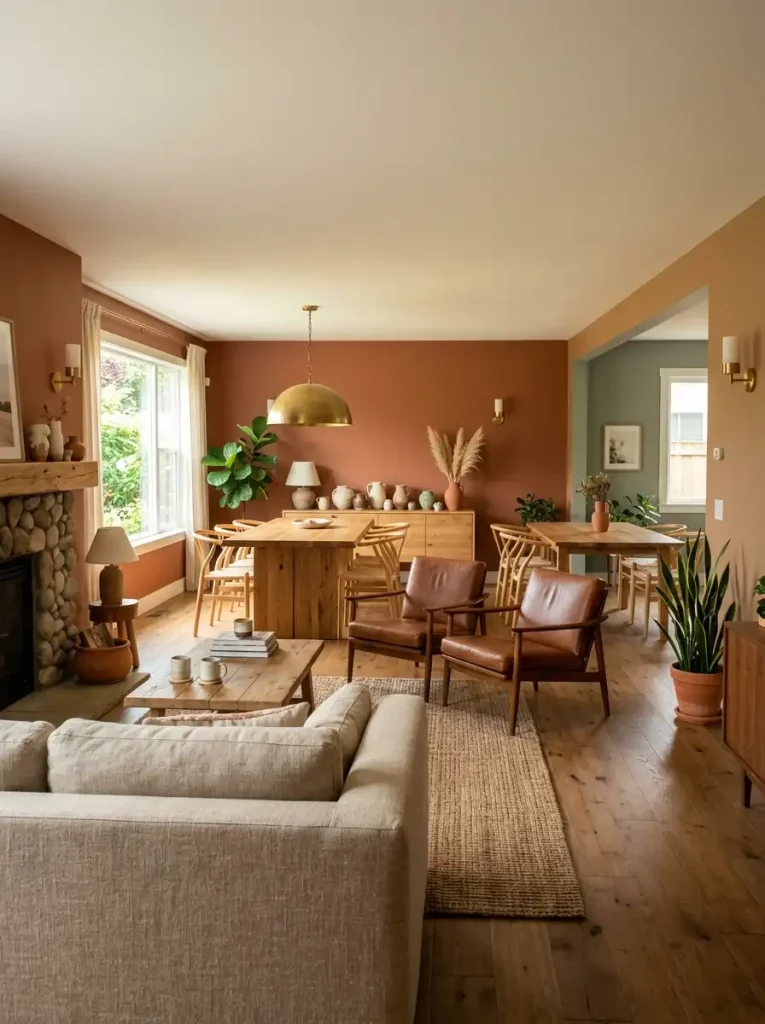
Warm Earth Tones — Terracotta, clay, warm toffee browns, and dusty sage are dominating living rooms and dining areas from Los Angeles to Denver. These tones pair beautifully with natural wood furniture and warm metal accents.
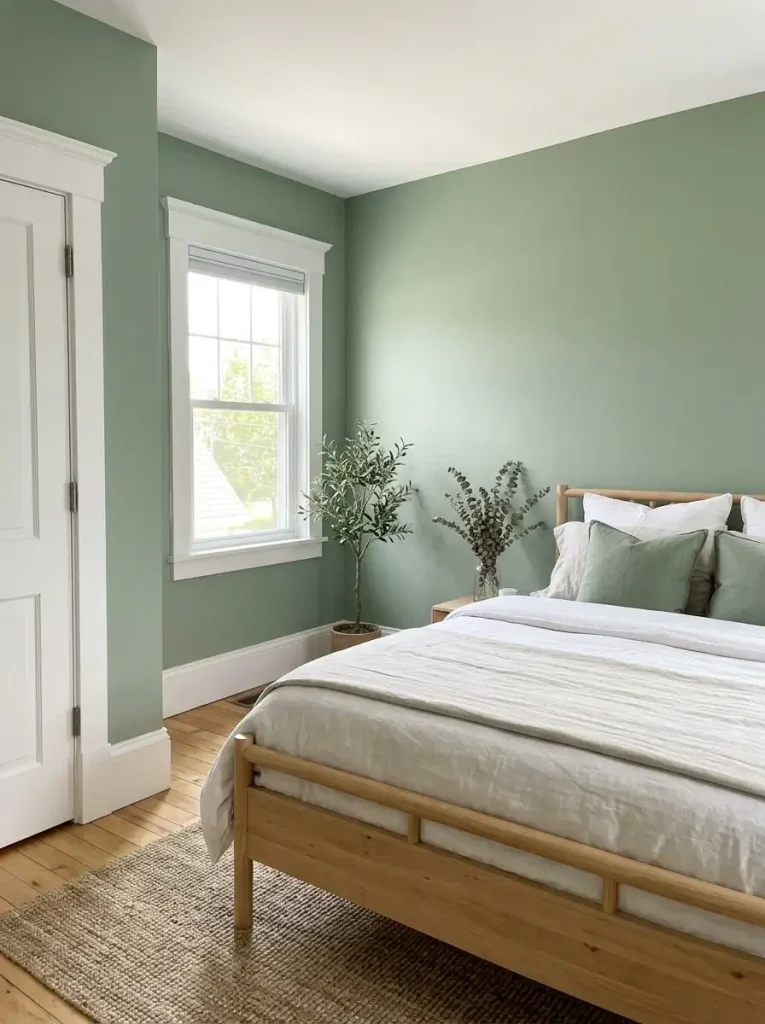
Soft Greens — Muted sage, eucalyptus, and olive greens continue their multi-year run in American bedrooms and home offices. These tones are calming, nature-inspired, and pair perfectly with white trim.
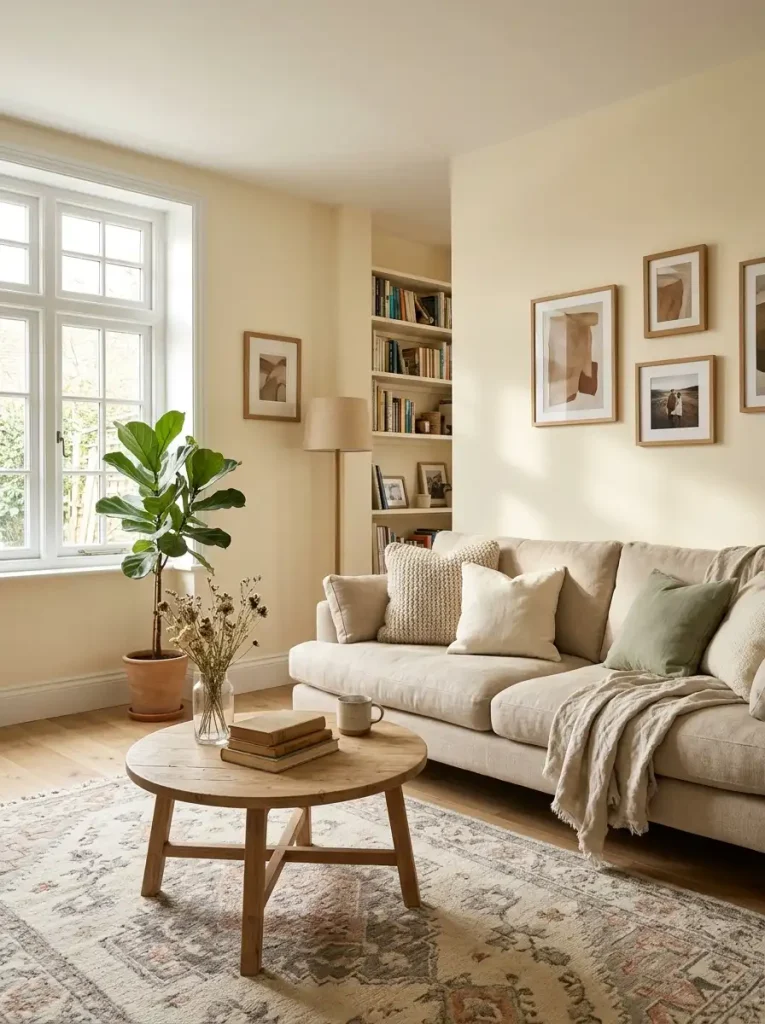
Creamy Whites — Pure bright white is giving way to warmer, creamier off-whites with yellow or pink undertones. These feel more welcoming and less clinical than stark white.
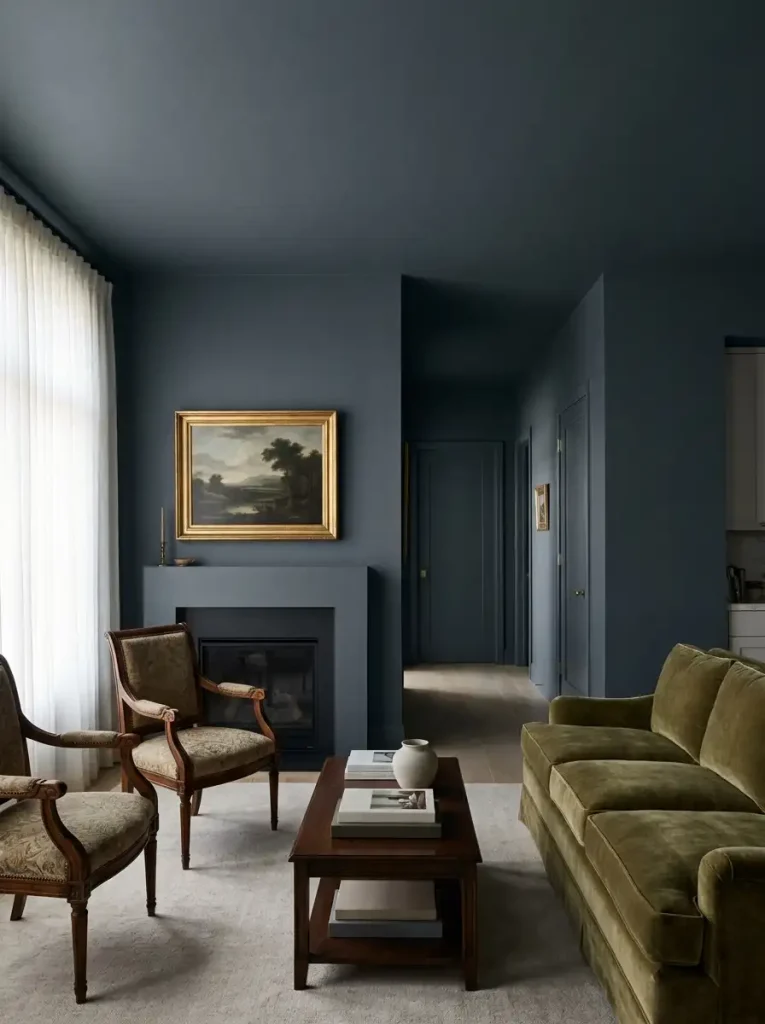
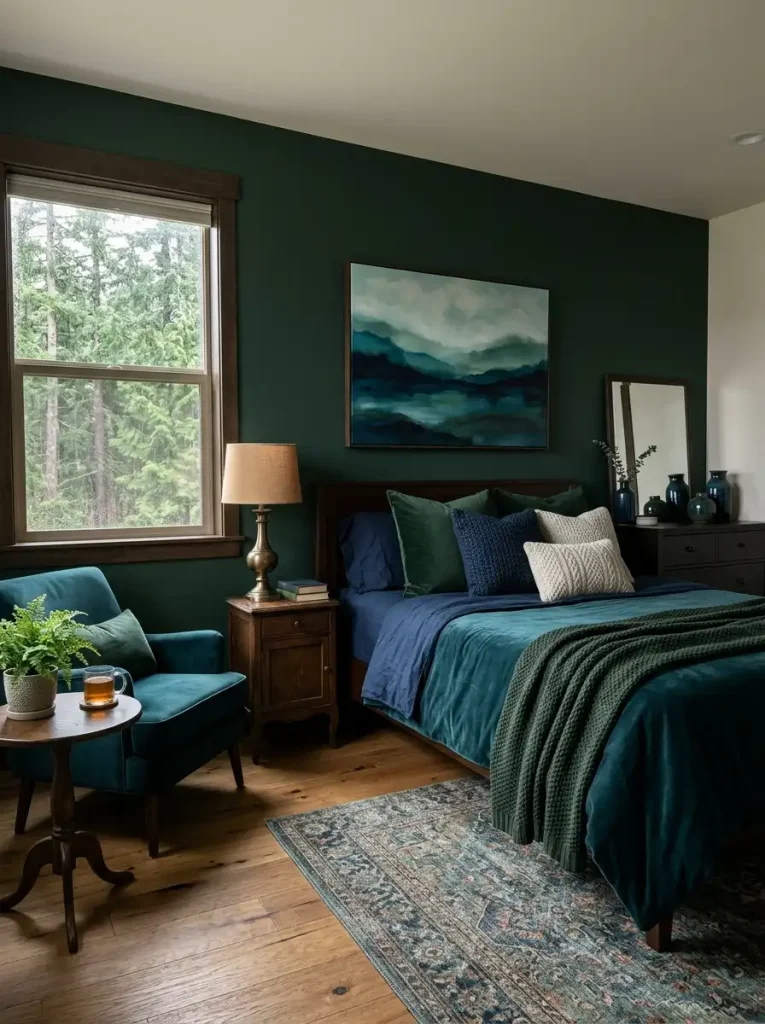
Moody Blues and Greens — Deep navy, forest green, and teal are increasingly popular as bold accent walls, especially in living rooms and primary bedrooms across the Pacific Northwest and Northeast.
Warm Grays (Greige) — The classic gray trend is warming up. True cool grays are being replaced by greige (gray-beige hybrids) that work in virtually any lighting condition. You’ll also like to see painted ceilings.

Budget Breakdown: Cost of Painting a Room in 2026
Understanding realistic costs helps you plan your project properly.
| Item | Budget Option | Mid-Range | Premium |
|---|---|---|---|
| Paint (per gallon) | $25–$35 (Behr, Glidden) | $50–$65 (Sherwin-Williams) | $75–$90 (Farrow & Ball, Fine Paints) |
| Primer (per gallon) | $20–$30 | $35–$50 | $55–$70 |
| Roller, brushes, tray | $15–$25 | $30–$50 | $60–$100 |
| Painter’s tape | $5–$10 | $10–$15 | $15–$20 |
| Drop cloths | $10–$20 | $25–$40 | $45–$80 |
| Spackling + sandpaper | $10–$15 | $15–$25 | $25–$40 |
| Total DIY (1 room) | $85–$135 | $165–$245 | $275–$400 |
| Professional (1 room) | $400–$700 | $700–$1,200 | $1,200–$2,500+ |
Budget Fact #1: According to HomeAdvisor’s 2025–2026 True Cost Guide, the national average cost of professional interior room painting is $955 per room, with costs ranging from $380 to $1,800 depending on room size, ceiling height, and condition of existing walls.
Budget Fact #2: Homeowners in high cost-of-living markets like San Francisco, Seattle-Tacoma, and New York City pay 30–60% above the national average for professional painting labor. In San Francisco specifically, professional painters charge $60–$100 per hour — making DIY painting an even more compelling option for budget-conscious homeowners.
Money-Saving Tip: Buy paint in 5-gallon buckets rather than individual gallons whenever you need 3 or more gallons of the same color. A 5-gallon bucket of Sherwin-Williams SuperPaint typically costs $30–$40 less than five individual gallons — and the color consistency is perfectly uniform since it’s all from the same batch.
Where to Buy Paint and Supplies in the U.S.
Sherwin-Williams — America’s most trusted professional paint brand, with over 4,500 store locations nationwide. Excellent color selection, knowledgeable staff, and premium products like Duration, Emerald, and SuperPaint. Frequent 30–40% off sales make premium paint affordable. Locations in every major city including Chicago, Phoenix, Denver, Los Angeles, and Seattle-Tacoma.
The Home Depot (Behr Paint) — The most convenient option for most Americans, with stores in virtually every city and suburb. Behr Premium Plus and Marquee lines offer excellent quality at mid-range prices. The in-store color matching system is highly accurate.
Lowe’s (HGTV Home by Sherwin-Williams, Valspar) — Strong mid-range paint selection with competitive pricing. Particularly strong on Valspar’s color accuracy and the HGTV Home collection, which features current trend-forward colors.
Benjamin Moore — Premium paint brand available through independently owned paint dealers and select retailers. Benjamin Moore Regal Select and Aura lines are highly regarded by professional painters across the country for their coverage, durability, and color depth. Available in major cities nationwide.
Amazon — Excellent for brushes, rollers, painter’s tape (3M ScotchBlue is the gold standard), drop cloths, and painting accessories. Fast Prime delivery makes it a great option for restocking supplies mid-project.
FAQ: How to Paint a Room
How long does it take to paint a room?
For a first-time DIY painter, a standard 12×12 foot bedroom typically takes 6 to 10 hours total spread across two days — half a day for prep and priming, a day for two coats of paint with drying time in between. Experienced painters can complete the same room in 4 to 6 hours. Larger rooms like open living and dining areas, or rooms with high ceilings, complex trim, or significant wall repairs, take proportionally longer. Allow at least a full weekend for a thorough, professional-quality result on any standard room.
Do I need to prime before painting?
Not always — but more often than most people think. If you’re repainting walls in the same color or a similar shade, and the existing paint is in good condition, you can often skip primer and go straight to two coats of a high-quality paint. However, primer is essential when painting new drywall, covering stains or water damage, making a dramatic color change (especially dark to light), painting over a glossy surface, or painting after wall repairs. When in doubt, prime — it’s always cheaper than an extra coat of finish paint.
What is the correct order to paint a room?
Always paint in this order for the cleanest, most professional result: ceiling first, walls second, trim last. Painting the ceiling first allows any drips or spatters to fall on walls that haven’t been painted yet. Painting walls second covers any ceiling paint that landed on the wall surface. Painting trim last gives you a crisp, clean finish on the most visible and detail-oriented surfaces in the room. Within each surface, always cut in edges with a brush before rolling the larger areas — and always roll while the cut-in edges are still wet to avoid visible brush lines.
Conclusion
Painting a room is one of the most rewarding home improvement projects any American homeowner can tackle — it’s fast, affordable, transformative, and genuinely achievable with the right preparation and technique.
If you’re freshening up a bedroom in a Chicago brownstone, updating a living room in a Phoenix starter home, or doing a full interior refresh before listing your Denver property for sale, the principles are the same: buy the right paint, calculate your quantities accurately, prep your surfaces thoroughly, and apply with patience and proper technique.
Follow this guide step by step, use the paint estimator formula to nail your quantities, and you’ll finish with results that look every bit as good as a professional job — at a fraction of the cost.