
Most people treat their master bath counter like a storage shelf. Toothpaste front and center. A half-empty bottle of face wash leaning against the mirror.
A random candle that has been there since last winter. It does not look bad on purpose, it just never got any attention.
Bathroom counter decor is one of the fastest ways to make your whole bathroom feel upgraded, and you do not need to gut the space or spend a lot of money to do it.
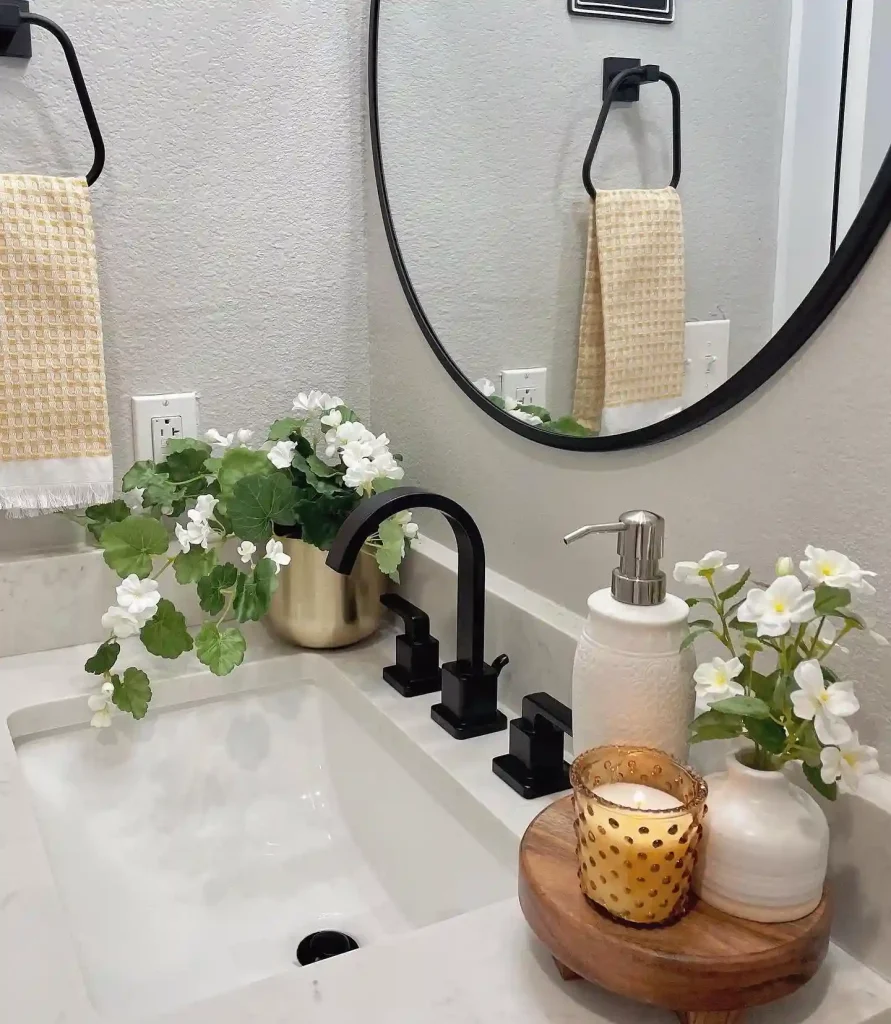
credits: @justrenoproject
This guide walks you through exactly how to style your counter from scratch i.e. what to remove, what to keep, what to add, and how to arrange it so it looks like you knew what you were doing from the start.
The actual styling takes about 30 to 45 minutes. Most of what you need is probably already in your home.
You will pull everything off the counter, make a few small decisions, and put back only what earns its place. By the end, you will have a counter that looks intentional every single morning, not just when company is coming.
Grab a tray, an empty laundry basket for the overflow, and let’s get started.
- Clear the counter completely before you touch anything
- Wipe down the surface and fix what is broken
- Choose a tray or dish to anchor your display
- Edit your everyday items down to the ones worth showing
- Group items in odd numbers
- Add one natural element for warmth
- Bring in one reflective or metallic piece
- Layer heights so nothing sits flat
- Step back and photograph it to spot what is off
- Swap one seasonal accent to keep it feeling fresh
Clear the counter completely before you touch anything
Take everything off, every single item, and put it in the basket.
Do not sort as you go. Do not wipe things down. Do not make decisions yet. The goal right now is a bare counter, nothing else.
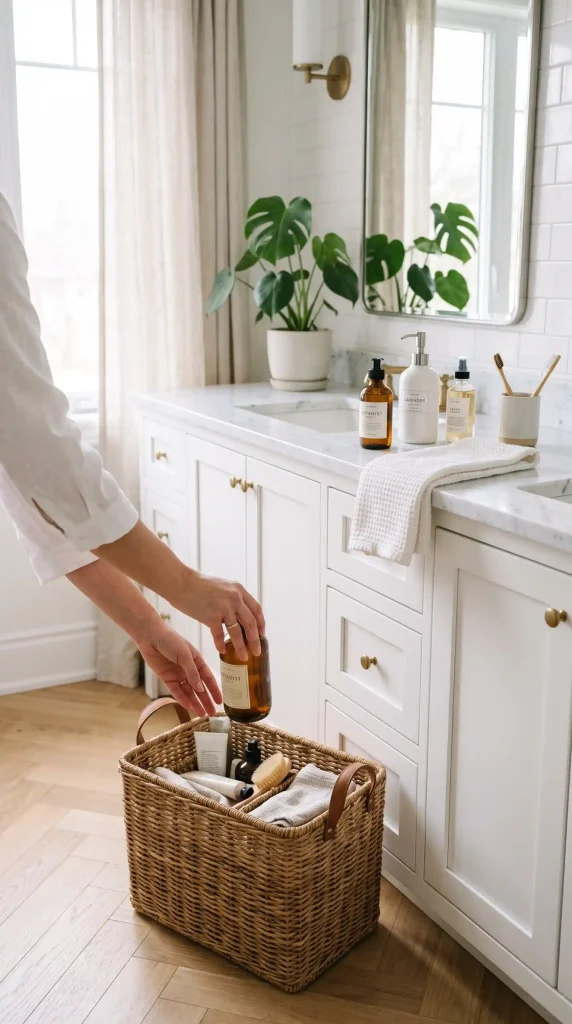
Decorating on top of a cluttered surface just produces a more decorated version of clutter. A blank slate forces you to make real choices about what comes back.
Wipe down the surface and fix what is broken
Spray the counter and wipe it down with a microfiber cloth, working from the back edge forward.
Check for soap residue near the faucet and toothpaste splatter near the sink, those spots need 10 to 15 seconds of focused scrubbing, not just a quick swipe.
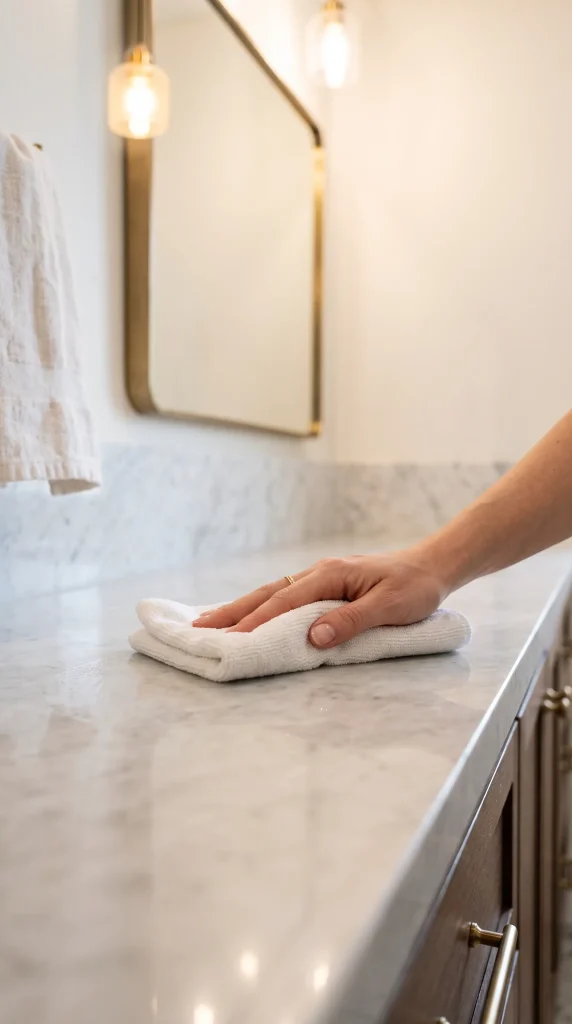
While you are here, look for cracked soap dishes, missing pump tops, or that one bottle you refill but never love. Set those aside permanently.
A styled counter cannot carry broken things.
Choose a tray or dish to anchor your display
Pull out any tray, small dish, decorative bowl, or wooden board you own and check the kitchen, the living room, the linen closet.
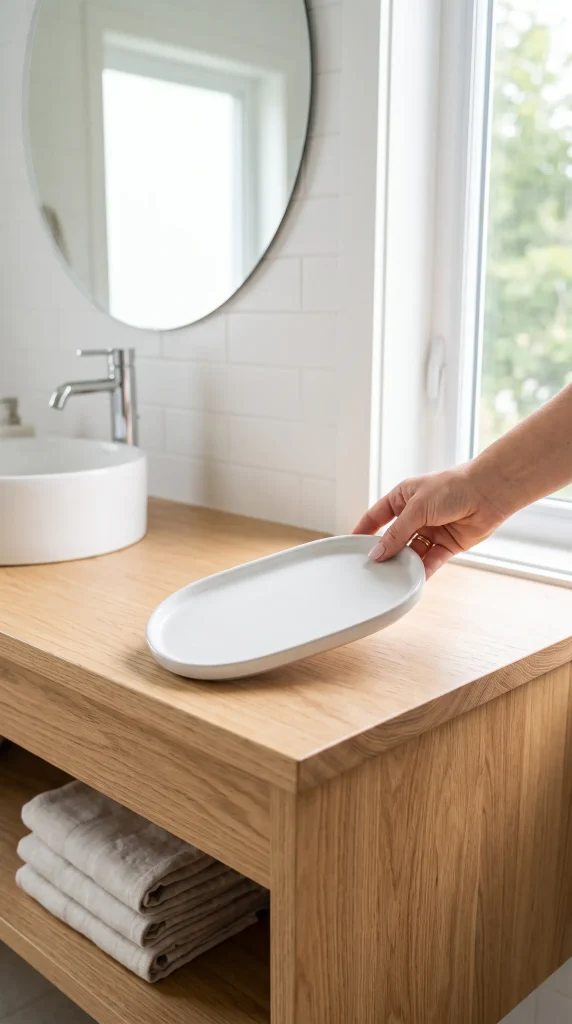
Place it roughly in the center or toward one end of the counter, depending on how much space you have. This is your anchor: everything you display will either sit on it or relate to it visually.
The tray does two things at once, it contains the grouping so it reads as intentional, and it protects the counter surface underneath.
A 6 to 12 inch tray is the most versatile size for a standard master bath counter.
Edit your everyday items down to the ones worth showing
Pick up each item from your basket one at a time.
Ask one question about it: would you buy this if you saw it on a shelf today?
If the answer is no, it goes in the cabinet or under the sink.
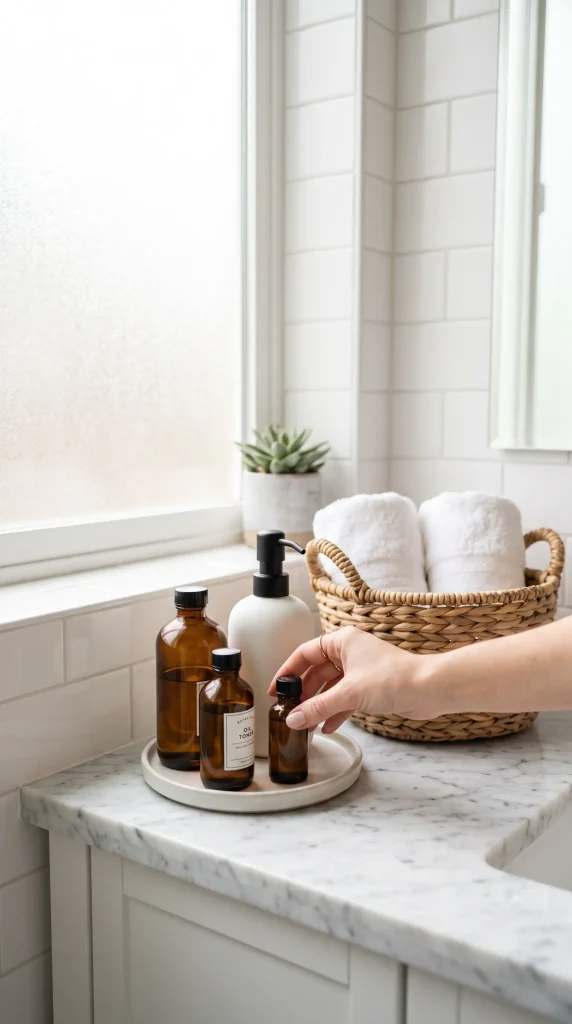
Branded packaging, half-used bottles with peeling labels, and mismatched containers all work against you here. Keep only what looks good sitting still.
Group items in odd numbers
Three items read as a vignette. Four reads as a row. Five reads as a collection. Two reads as an accident.
Pull your kept items together and arrange them in groups of three or five, never two or four.
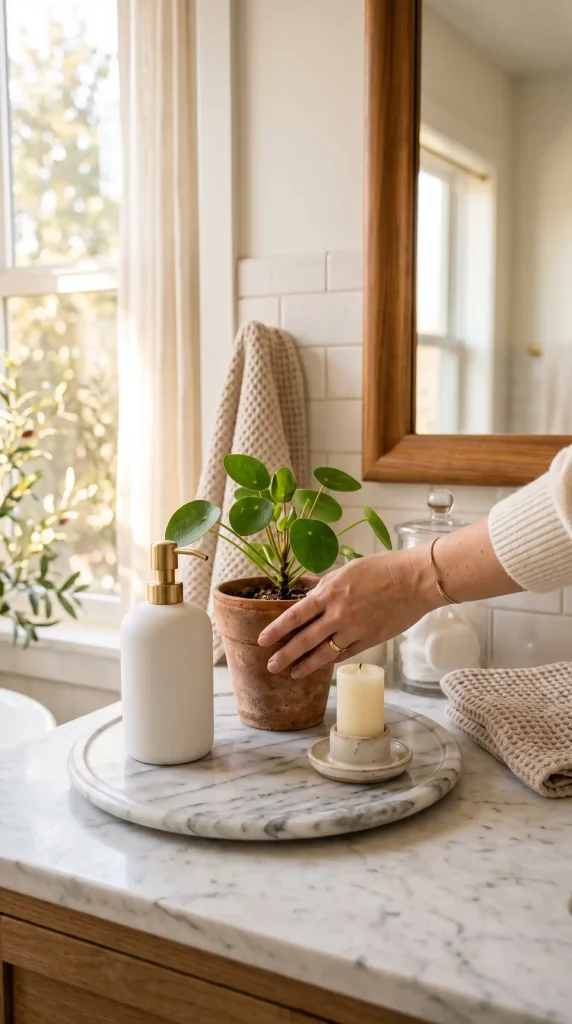
Within each group, make sure the items have some relationship to each other: same color family, similar material, or shared purpose.
One group on the tray, one small group beside it if your counter has the room.
Add one natural element for warmth
A small plant, a sprig of dried pampas, a river stone, a bundle of eucalyptus. Pick one and place it at the back of your tray or just beside it. Natural elements stop a styled counter from looking like a store display. They add softness that no candle or soap dispenser can replicate on its own.
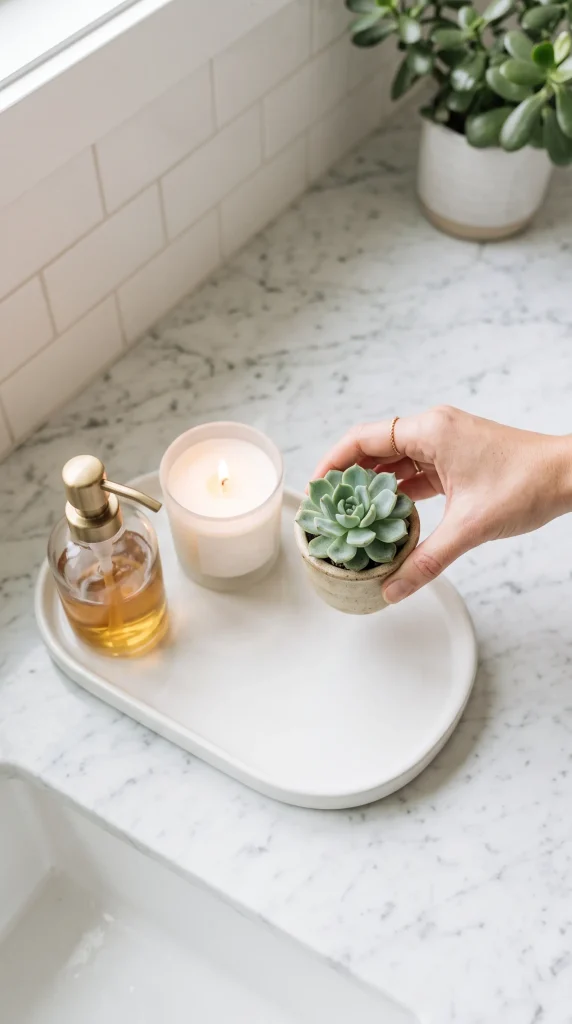
If you do not have a plant that can survive low bathroom light, a small succulent or air plant handles humidity well and needs watering only every 10 to 14 days. A bundle of dried stems costs almost nothing at a craft store and lasts for months without any maintenance.
Bring in one reflective or metallic piece
A small mirror, a gold tray liner, a glass perfume bottle, a silver candle holder.
One piece with shine pulls light around the counter and makes everything near it look more considered. It does not need to be expensive or large. Something the size of your fist is enough.
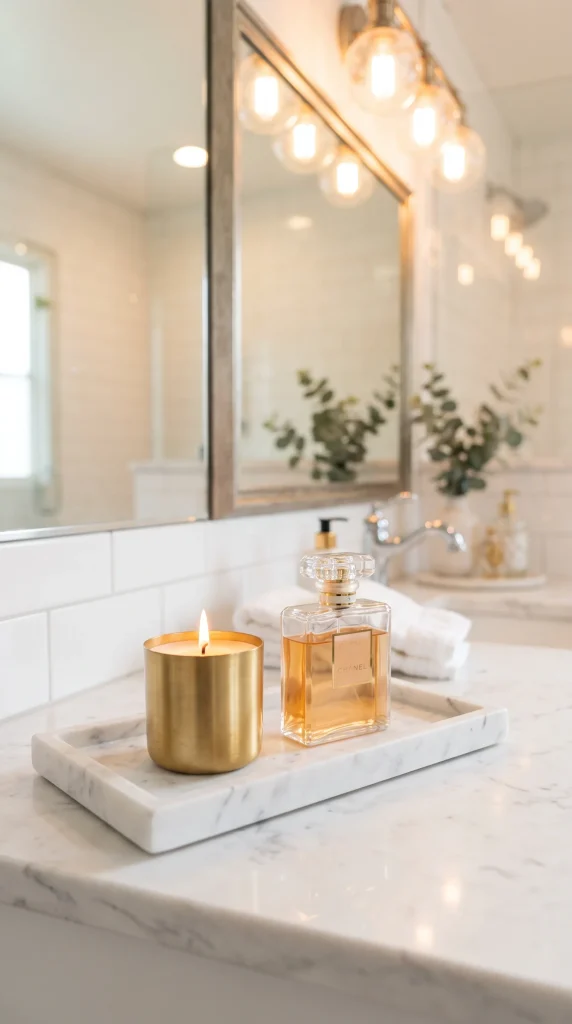
Place it where natural or vanity light hits it directly. Near the faucet or beside the mirror tends to work well in most master baths.
If your counter already has a lot of chrome from the fixtures, look for warm gold or matte brass instead so the metallic feels intentional rather than accidental.
Layer heights so nothing sits flat
Look at your arrangement from the side. If everything sits at the same level, the display reads flat and forgettable.
You need at least three different heights: something low like a dish or small stone, something mid-height like a soap dispenser or small plant, and something tall like a candle, a slender vase, or a bottle of perfume.
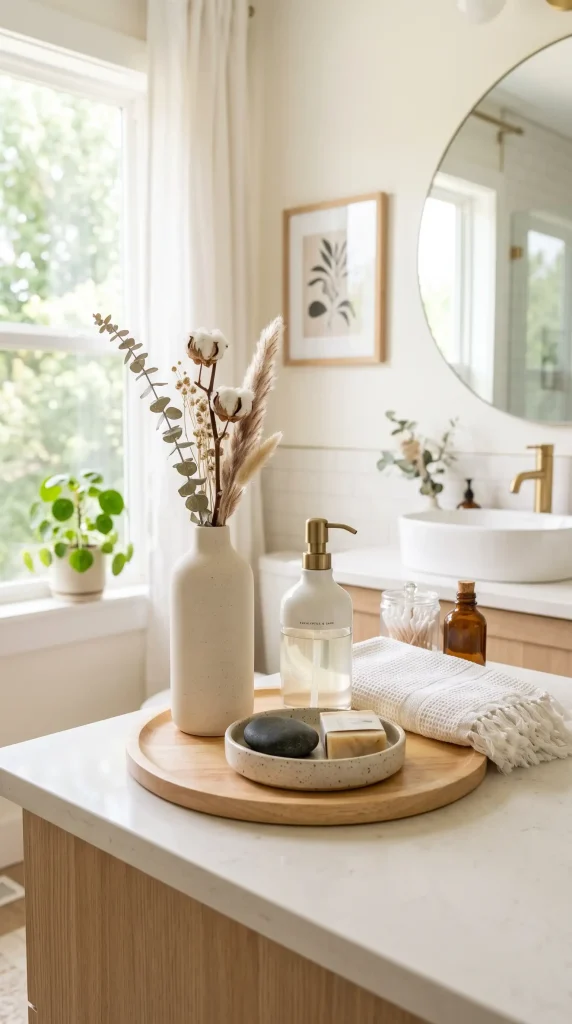
Adjust what you have before buying anything new. A small stack of books under a plant, a wooden riser under a tray, or a tall candle moved to the back can shift the whole look in under two minutes.
Step back and photograph it with your phone
Stand at the bathroom doorway and take a photo. Do not style the photo. Do not fix anything first. Shoot it as it sits right now and look at the image, not the counter.
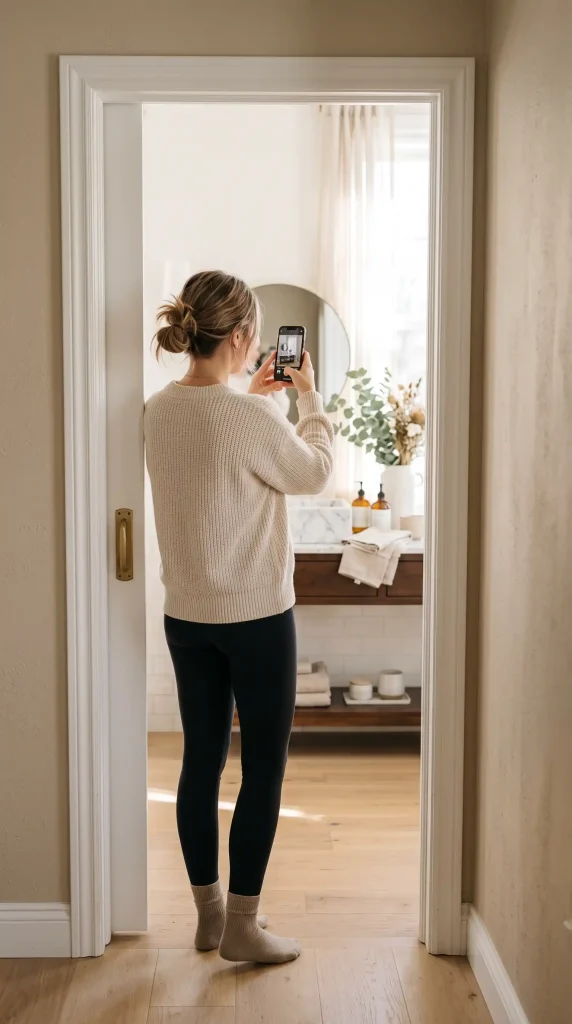
The camera flattens the space the same way a Pinterest scroll does, and problems that your eye skips over in person become obvious in a photo.
Look for one thing that reads as out of place and move or remove it. Then take a second photo. Repeat until the image looks the way you want the counter to look every morning.
Swap one seasonal accent to keep it feeling fresh
Pick one item in your display that is easy to replace: a small candle, a stem in a vase, a decorative object. Every six to eight weeks, swap that one piece for something that fits the season. A pine sprig in December. A small citrus branch in spring. A linen-colored pillar candle in fall.
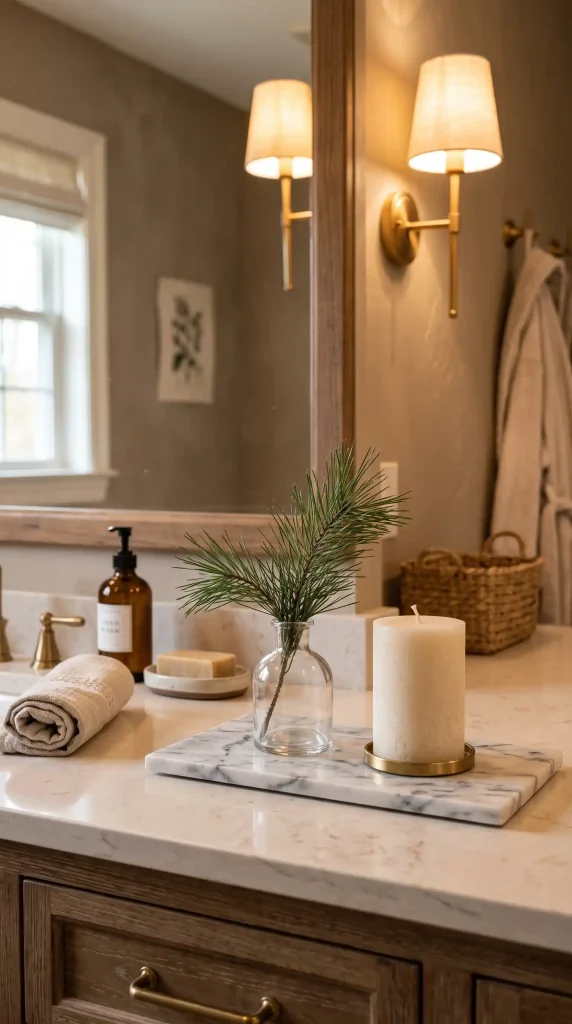
Everything else stays put. You are not re-decorating the whole counter each time. One swap keeps the space feeling alive without starting over from scratch, and it gives you a reason to look forward to the counter instead of stopping noticing it.
Common Mistakes
Frequently Asked Questions
Quick Reference Card and Conclusion
- Empty basket or box
- Surface cleaner and microfiber cloth
- Tray, dish, or small bowl
- 2 to 3 decanted bottles
- One natural element
- One metallic or glass accent
- One tall item for height
- Your phone for the photo test
- Clear everything off
- Clean and remove broken items
- Place your anchor tray
- Edit items ruthlessly
- Group in threes or fives
- Add one natural element
- Add one metallic piece
- Layer three different heights
- Photograph and adjust
- Plan one seasonal swap
Your master bath counter is done. What was a dumping ground for half-empty bottles and forgotten clutter is now a space that looks like you meant it. That is not a small thing.
If you want to take it further, the next natural step is tackling the cabinet or drawer directly below the counter. Getting the storage organized makes it ten times easier to keep the top looking the way it does right now.
If this guide helped, save it to your bathroom decor board on Pinterest so you can come back to it when it is time for that seasonal swap.
You’ll also love to read Ambar article on master bath ideas. If you like my guide hit share button to your friends.